
[Helfit] OAuth2
2023.03.15(수)
🤗 OAuth 성공 !!
프리 때 거의 이틀을 삽질해도 실패했던 OAuth를 메인에서 성공했다.
생각보다? 간단한 로직이였다 나는 백엔드로 요청을 보내서 응답을 처리하는 로직으로만 생각했는데 그게 아니였다.
- 프론트에서 단순하게 백엔드에서 연결해주는 링크로 보내주기만 하고 이동된 URL에서 로그인을 완료하면 리다이렉트 URL에 엑세스 토큰이 담기게 된다.
- 그럼 그 URL에서 accesstoken을 뽑아와서 로컬스토리지에 저장한 뒤 Home으로 보내주기만 하면 되는 것이였다.
🕹 OAuth 버튼 코드
import style from '../../styles/Login/C_LoginBox.module.css';

const URL = process.env.NEXT_PUBLIC_URL;

const OAuthBox = () => {
  const handleGoogleLogin = () => {
    window.open(`${URL}/oauth2/authorization/google`);
  };

  const handleNaverLogin = () => {
    window.open(`${URL}/oauth2/authorization/naver`);
  };

  const handleKakaoLogin = () => {
    window.open(`${URL}/oauth2/authorization/kakao`);
  };

  return (
    <>
      <div className={style.OAuthTitle}>
        <div className={style.line}></div>
        <span className={style.OAuthTitleText}>다른 방법으로 로그인</span>
        <div className={style.line}></div>
      </div>
      <div className={style.OAuth2}>
        <button className={style.OAuthBtn} onClick={handleGoogleLogin}>
          <img src='../../assets/LoginP/GoogleOAuth.svg' />
          <span className={style.OAuthText}>Google 계정으로 로그인</span>
        </button>
        <button className={style.OAuthBtn} onClick={handleNaverLogin}>
          <img src='../../assets/LoginP/NaverOAuth.svg' />
          <span className={style.OAuthText}>Naver 계정으로 로그인</span>
        </button>
        <button className={style.OAuthBtn} onClick={handleKakaoLogin}>
          <img src='../../assets/LoginP/KakaoOAuth.svg' />
          <span className={style.OAuthText}>Kakao 계정으로 로그인</span>
        </button>
      </div>
    </>
  );
};

export default OAuthBox;
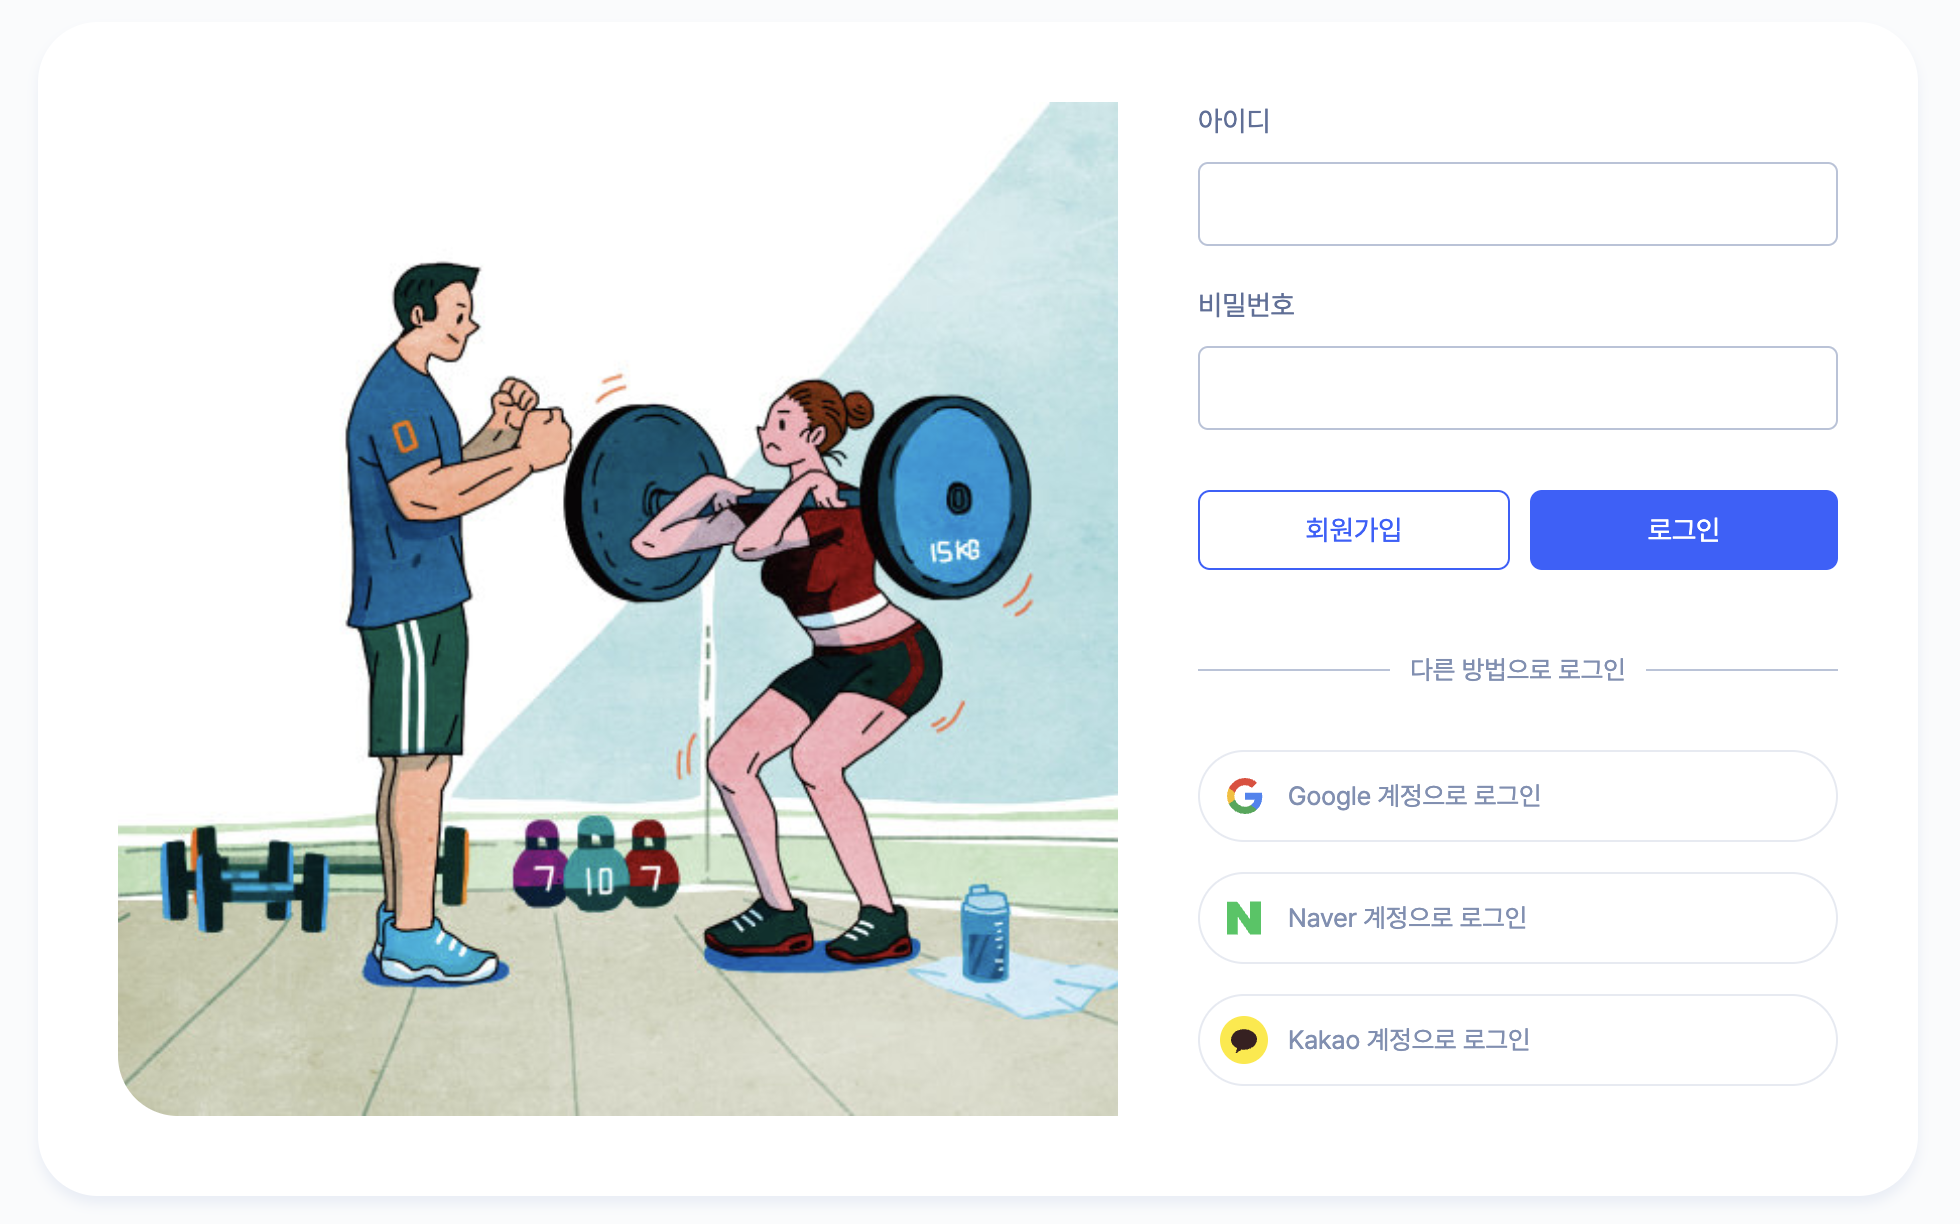
예를들어 여기서 Kakao 계정으로 로그인을 누르면 ?
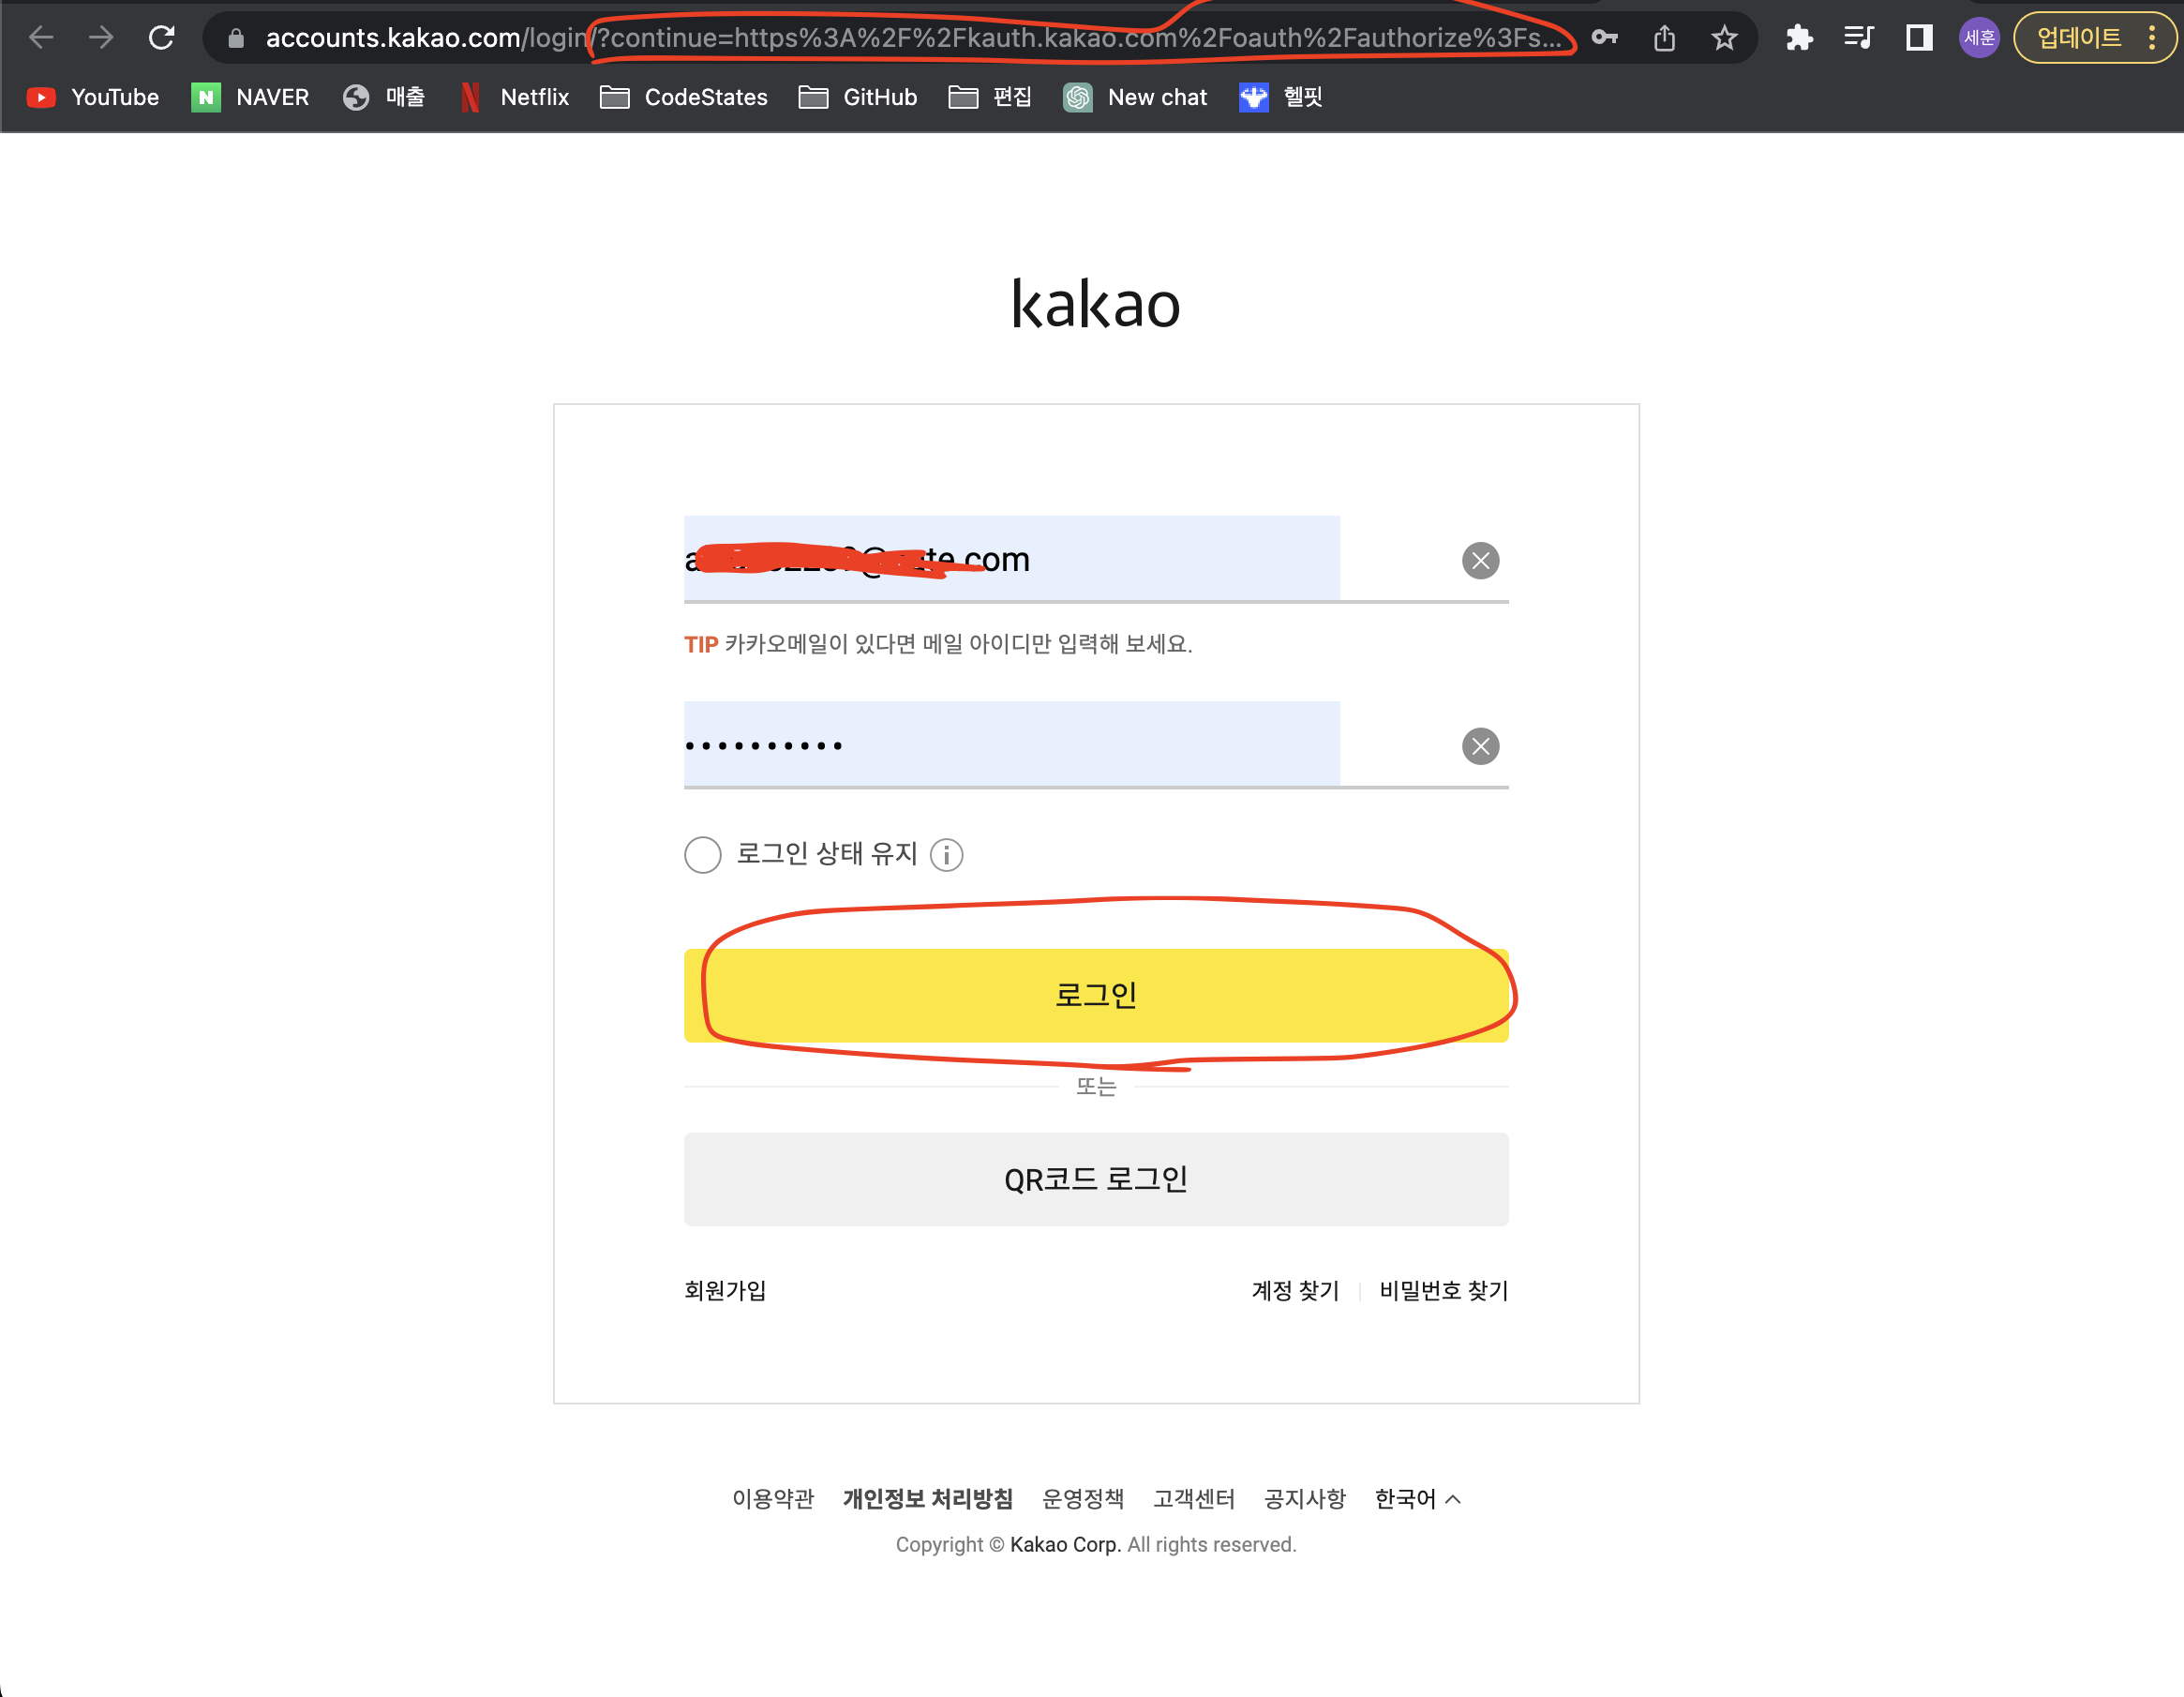
이곳으로 이동하고 로그인 버튼을 누르면 백엔드에서 카카오로부터 로그인 정보를 얻어와 우리 회원정보에 등록하고 URL에 accessToken을 리다이렉트 해준다.
url: http://localhost:3000/oauth2/receive?access_token=eyJhbGciOiJIUzI1NiJ9.eyJzdWIiOiIxMDAyNDY...
🕹 OAuth 리다이렉션을 처리하는 페이지
// access_token만 짤라서 로컬스토리지에 저장하고
// 홈으로 이동시킨다.

import { useRouter } from 'next/router';
import axios from 'axios';

const OAuth2 = () => {
  const router = useRouter();

  if (typeof window !== 'undefined') {
    const url: string = window.location.href;

    // URLParams에서 잘라오기
    const urlSearchParams: URLSearchParams = new URLSearchParams(
      url.split('?')[1]
    );
    const accessToken: string | null = urlSearchParams.get('access_token');

    const OAuthURL = process.env.NEXT_PUBLIC_URL;

    if (accessToken) {
      localStorage.setItem('accessToken', accessToken);
      axios
        .get(`${OAuthURL}/api/v1/users`, {
          headers: {
            Authorization: `Bearer ${accessToken}`
          }
        })
        .then((res) => {
          const UserInfo = res.data.body.data;
          localStorage.setItem('UserInfo', JSON.stringify(UserInfo));
          // console.log(JSON.parse(localStorage.UserInfo).email);
          router.push('/');
        })
        .catch((error) => {
          console.log(error);
        });
    }
  }

};
export default OAuth2;
위 코드처럼 URL에서 accessToken을 뽑아와서 로컬스토리지에 저장하고 서버에 UserInfo를 요청하고 Home으로 보내주면 끝 !!
이렇게 완성하면 모든 OAuth 기능이 아주 잘 구현된다.
프리프로젝트 때 해결하지 못한게 굉장히 한으로 남았었는데 메인프로젝트에서 해결할 수 있게되어서 너무 행복하다
Comments