
[Helfit] 컴포넌트
2023.03.19(일)
이건 내가 유용?하게 사용했던 컴포넌트들의 모음이다. 처음으로 react-semantic-ui를 활용해서 코드를 작성해보았다.
내가 사용했던 Semantic-ui
💡 카테고리 Semantic-ui

category.tsx
import React, { useState } from 'react';
import { Menu, MenuItemProps } from 'semantic-ui-react';
import styles from '../../styles/Community/C_Community.module.css';
import { useRouter } from 'next/router';
const menuItems = [
{ name: 'home', path: '/community' },
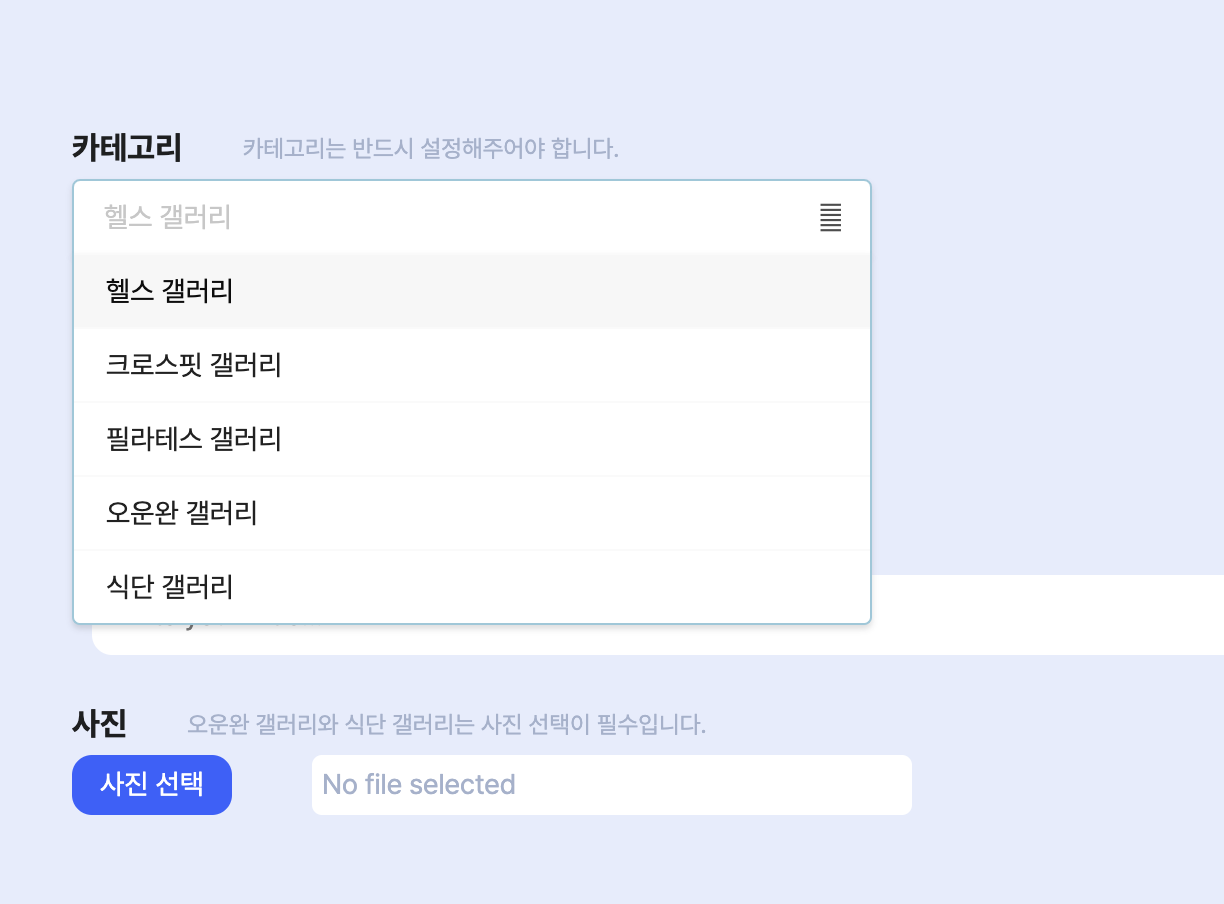
{ name: '헬스 갤러리', path: '/community/health' },
{ name: '크로스핏 갤러리', path: '/community/crossfit' },
{ name: '필라테스 갤러리', path: '/community/pilates' },
{ name: '오운완 갤러리', path: '/community/oww' },
{ name: '식단 갤러리', path: '/community/diet' }
];
const Category = () => {
const router = useRouter();
const [activeItem, setActiveItem] = useState<string>(
menuItems.find((item) => item.path === router.pathname)?.name || 'home'
);
const handleItemClick = (
event: React.MouseEvent<HTMLAnchorElement>,
data: MenuItemProps
) => {
const name = data.name as string;
const path = menuItems.find((item) => item.name === name)?.path || '';
setActiveItem(name);
event.preventDefault();
router.push(path);
};
return (
<div>
<Menu pointing secondary className={styles.Menubar}>
{menuItems.map((item) => (
<Menu.Item
key={item.name}
name={item.name}
active={router.pathname === item.path}
onClick={handleItemClick}
className={
activeItem === item.name ? styles.activeItem : styles.menuItem
}
/>
))}
</Menu>
</div>
);
};
export default Category;
💡 Dropdown Semantic-ui
Dropdown.tsx
import { FunctionComponent } from 'react';
import { Dropdown, DropdownProps } from 'semantic-ui-react';

export interface Option {
  key: string;
  text: string;
  value: string;
}

interface DropdownPropsWithOption extends DropdownProps {
  options: Option[];
}

const DropdownWithOption: FunctionComponent<DropdownPropsWithOption> = ({
  options,
  ...restProps
}) => (
  <Dropdown
    placeholder='갤러리'
    search
    selection
    options={options}
    {...restProps}
    className='DropDown'
  />
);

export default DropdownWithOption;
WritePostBox.tsx
const options: Option[] = [
  { key: 'health', text: '헬스 갤러리', value: '1' },
  { key: 'crossfit', text: '크로스핏 갤러리', value: '2' },
  { key: 'pilates', text: '필라테스 갤러리', value: '4' },
  { key: 'oww', text: '오운완 갤러리', value: '5' },
  { key: 'diet', text: '식단 갤러리', value: '6' }
];
....
semantic-ui를 사용해보고 느낀점
카테고리와 드롭다운 두개를 semantic-ui로 작성해보았는데 정말 편하긴 하다. 하지만 정해진 css틀을 내 입맛대로 수정하는게 생각보다 어려웠다. 만족도로 따져보자면 카테고리 ⭐️⭐️⭐️, 드롭다운 ⭐️⭐️⭐️⭐️⭐️
.menuItem {
  color: var(--text_5) !important;
  display: inline-block !important;
}
이런식으로 !important를 사용해야 css가 적용되었고 기능적으로도 내가 원하는대로 설정하는데 생각보다 애를 많이 먹었다. 이후 semantic-ui를 사용한 부분은 리펙토링을 통해 다시 만들어볼 생각이다.
💡 Tag

Tag.tsx
import { useState } from 'react';
import style from '../../../styles/Community/C_Tag.module.css';

export interface TagProps {
  onTagAdd: (newTags: string[]) => void;
}

const Tag: React.FC<TagProps> = ({ onTagAdd }) => {
  const [tags, setTags] = useState<string[]>([]);
  const [tag, setTag] = useState<string>('');

  const removeTag = (i: number) => {
    const newTags = [...tags];
    newTags.splice(i, 1);
    setTags(newTags);
    onTagAdd(newTags);
  };

  const addTag = (e: React.ChangeEvent<HTMLInputElement>) => {
    const newTag = e.target.value.trim();
    if (newTag.length > 10 || tags.length >= 5) {
      return;
    }
    setTag(newTag);
  };

  const handleKeyPress = (e: React.KeyboardEvent<HTMLInputElement>) => {
    if (e.key === 'Enter') {
      handleClick();
    }
  };

  const handleClick = () => {
    if (tags.length >= 5) {
      return alert('tag는 최대 5개까지 추가할 수 있습니다.');
    }
    const newTags = [...tags, tag];
    setTags(newTags);
    setTag('');
    onTagAdd(newTags);
  };

  return (
    <div>
      <div className={style.TagContainer}>
        <input
          className={style.InputBox}
          placeholder='Press enter to add tags ...'
          onChange={(e) => addTag(e)}
          onKeyPress={(e) => handleKeyPress(e)}
          value={tag}
        />
        {tags.map((e, i) => (
          <div className={style.Hash} key={i}>
            <div className={style.HashName}>{e}</div>
            <div className={style.HashBtn} onClick={() => removeTag(i)}>
              x
            </div>
          </div>
        ))}
      </div>
    </div>
  );
};

export default Tag;
태그는 원하는 바가 확실했다.
- 엔터키를 쳤을 때 태그가 작성될 것
- x를 눌렀을 때 태그가 삭제될 것
- 깔끔한 ui 일 것
나름 만족스럽게 작성했던 것 같다.
Comments